Ahoy! It’s been a good while since I’ve posted anything, let alone, been heavy into the automotive scene. I’ll get to the garage bit, but first, let’s catch up.
It’s actually been a pretty wild ride since my last post! I carved out some focus time for a career change, got a lot of family time in, kicked off some side hustles, met a ton of cool people, and out of all that came a bit of clarity.
All in all, there were ups; there were downs, but I learned a lot. And, boy, does it feel good to be back!
Kicking things off with a proper workspace is critical to any project’s success. But, a lot of times you just have to work with what you’ve got. Over the years, I’ve found myself scrambling to find tools, losing nuts and bolts, and taking way too long to find parts. With that, this time around, I’ve decided to start with a clean slate. My hope is to stay organized along the way and make the build process more enjoyable.
So, let’s get to it; shall we?!
The Workspace
My two main focuses here are storage and maneuverability. This will allow me to get a bunch stuff off the ground, while clearing some space to work, and make it easier to find things. We’ll see if that holds true throughout the course of this build, haha.

Since I’m having to move everything around, I decided to go ahead and lay down some paint while everything is cleared out. I wanted more of an automotive look and feel in the garage, but didn’t want anything too dark that would reduce light dispersion or take away too much from the original color scheme throughout the house. On the flip side, I didn’t want anything too light that would end up getting stained easily with dirt and grime.

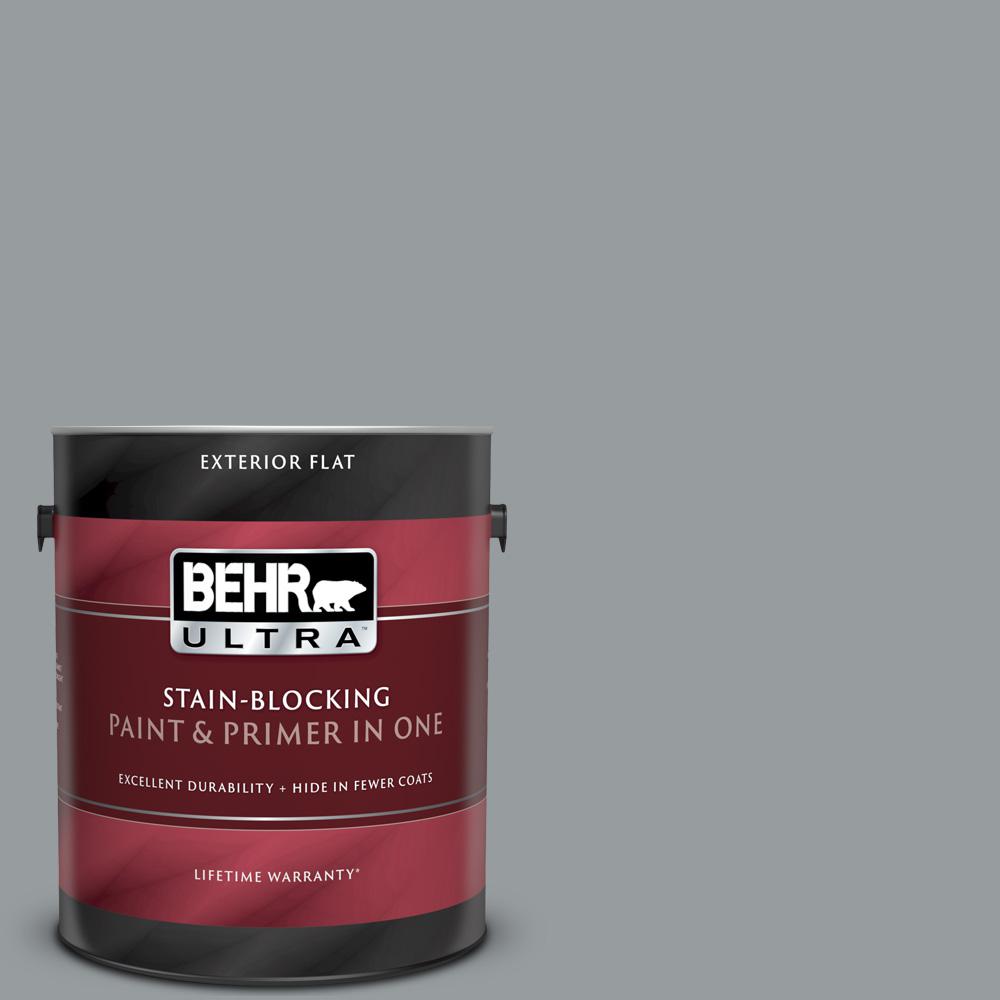
After some hunting, I finally landed on Behr’s Stain-Blocking Pencil Sketch in satin. The satin sheen makes it easier to wipe down when dirt and grim get on it. It also helps reflect some light throughout without going with a stark white.

Speaking of lighting, it really sucks in here. It’s just not going to cut it. So, to brighten things up, I’m ditching the two old 4ft fluorescents running horizontally and replacing them with 2x 8ft 110W LEDs putting out 5,000 Kelvin.

Given the length of these LEDs, I’m running them vertically with a couple of toggle bolt drywall anchors. This also provides great lighting from front to back on both sides of the garage. Things are looking up!

The Decor
Since the car won’t be running anytime soon, and I’ll most likely be going wider, what kind of person would I be if throw this beautiful set of RS-Watanabe RS8s in storage and don’t let them see the light of day?!
Watanabes have always been in the top 3 of my favorite wheels list, so we’ll just hang these beauties here till the day I get my hands on a 280Z.
Garage Storage
For storage, I decided to go with a set of charcoal gray NewAge units. Given the spacing, I got a set of overhead Pro Series cabinets and a large vertical cabinet in the corner. For now, I’ve got a usable workbench so I’ll be keeping that for a while before bumping up to a longer NewAge metal top and bottom cabinets.

I’m pretty stoked about how everything came together. The lighting is great, the color is fresh, there’s a decent amount of room to move around, and tools are easier to find. Time to get to wrenching!


